Using the Distance Measurement Tool
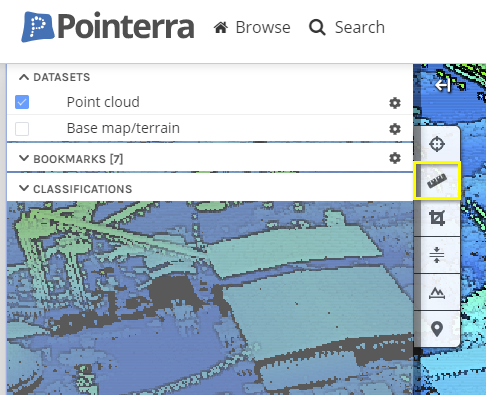
You can make distance measurements in the 3D view by activating the Measure Tool from the tool palette
The measure tool has three modes that you can toggle between using the SHIFT key:
* 3D measurement - unconstrained distance between the 2 picked points
* Z/Vertical/Height measurement - measures the vertical distance between the 2 picked points
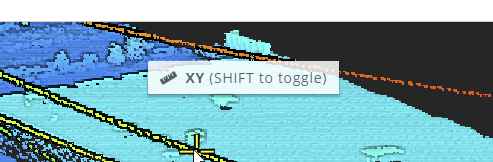
* XY/Horizontal measurement - measures the horizontal distance between the 2 picked points
The measurement mode indicator shows the current measuring mode. It is displayed at the top of the viewing window when the measure tool is active. If you press the SHIFT key, you will see the mode indicator change. You can change modes while taking a measurement.
Taking a Measurement
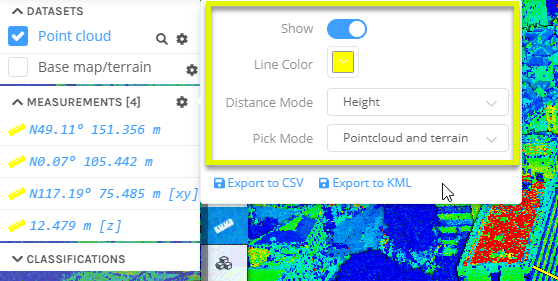
Measurements are created by clicking on 2 points. These points can be from the point cloud, imported 3D model datasets or, if you have a georeferenced point cloud, you can allow clicking on points on the terrain (this is the default behaviour). Note that terrain data will not be as accurate as the point cloud, so you should only regard these measurements as approximate.
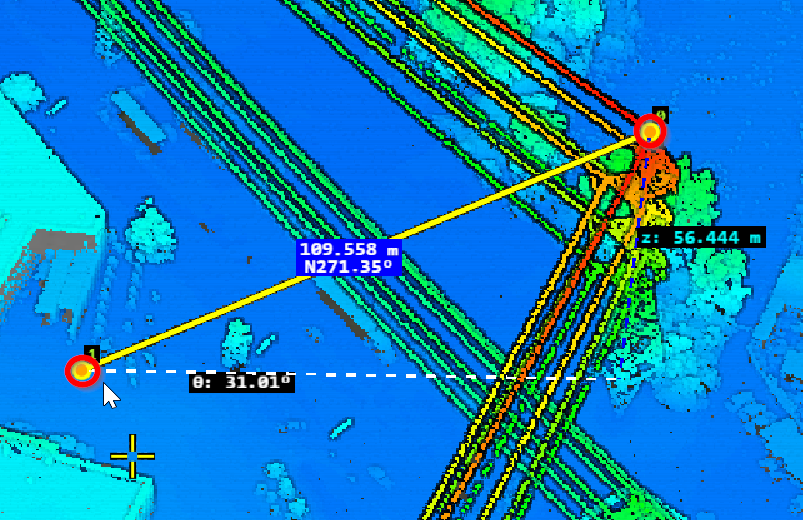
To begin a measurement, click the left mouse on the first point. As you move the mouse, the measurement line will then drag out to show the distance to the current mouse position. For point cloud points, the yellow crosshair indicates the selected point (which will be the closest point cloud point to the cursor)

Note: To accurately measure from a point cloud, you should zoom in to the area that you are picking the point to ensure that you are clicking on an actual scanned point, and not an average of several points (which is what you will be using if zoomed out).
You can abort the measurement after clicking the first point by pressing the ESCAPE key. This will undo the measurement and allow you to reselect the first point. If you press ESCAPE again you will deactivate the measure tool.
Saving Measurements
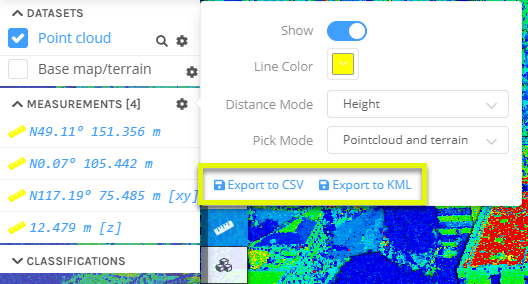
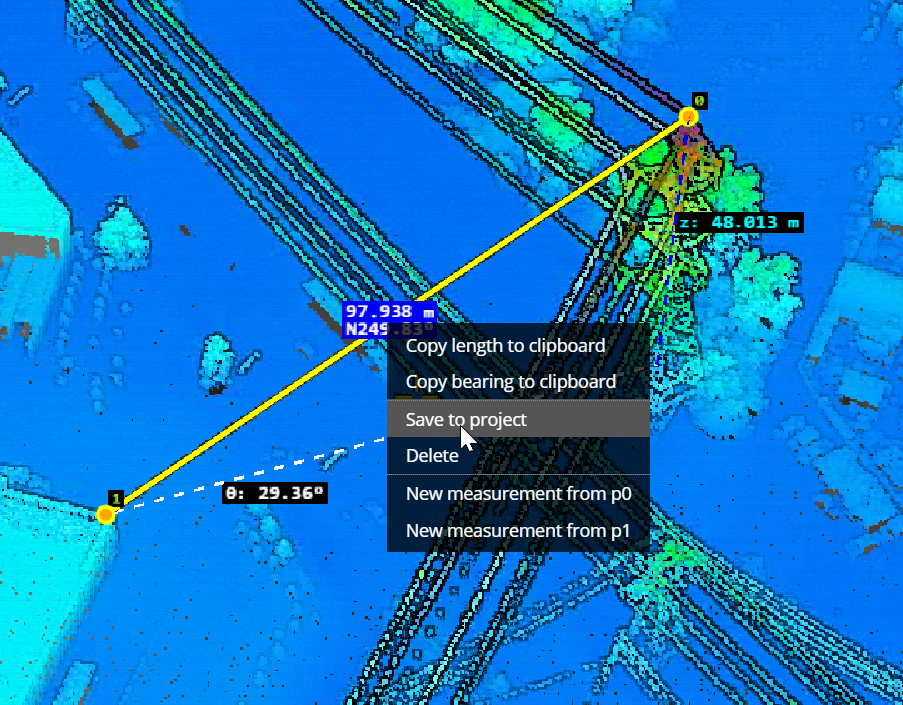
Once created, measurements can be saved to the point cloud so that they will appear when reloading the point cloud. This can be done by right clicking on a measurement, opening the context menu. From there select, Save to project. All measurements (even those not saved) can be viewed through the Measurements tab in the left panel, this tab can also be used to save measurements by selecting the save option next to the measurement (measurements can also be given a name in this way).
Editing Measurements
To edit a measurement, select the measurement either by left clicking on it in the 3D view or the Measurements tab and ensure that the Measurement tool is active, then hold and drag either end point to a new desired location. Note that the mode of the existing measurement can be changed by using the SHIFT key as normal.