Setting the Photo to IMU Rotation value for 360 photo datasets
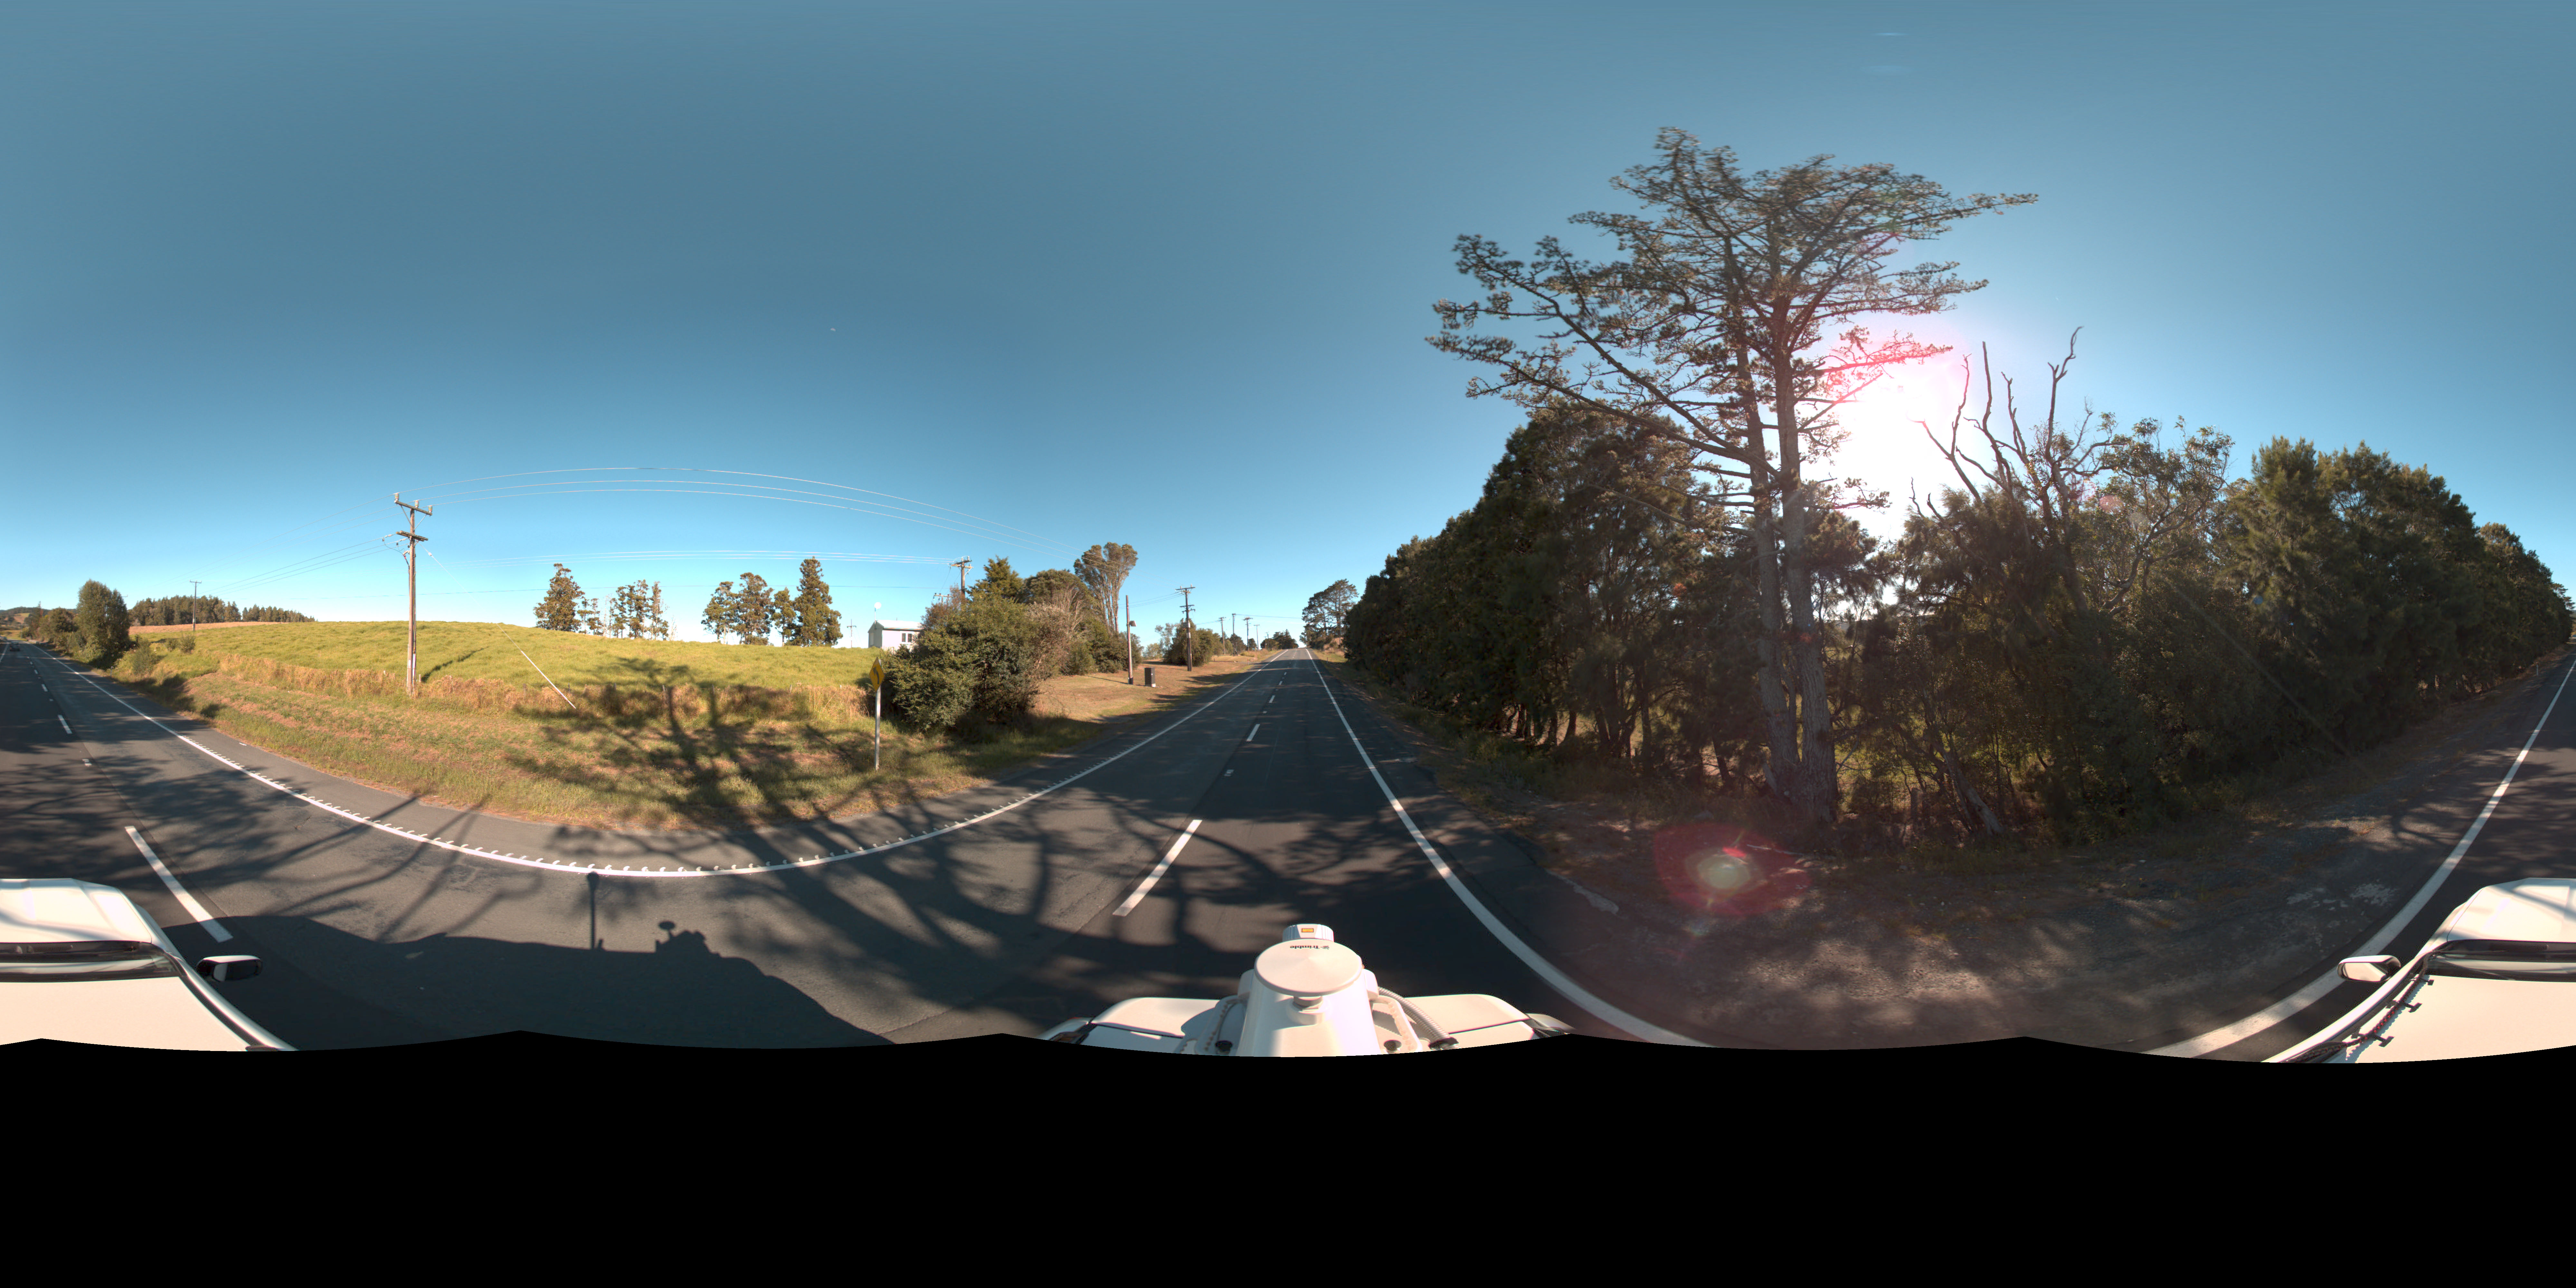
Depending on how your source photos are processed into the 360 photo, there may be a rotational difference between the IMU heading information (generally the direction of the vehicle) and the 360 photo origin. We assume that the left edge (i.e. first pixel column) of the photo corresponds to the forward direction of the IMU, as shown in the sample image below

If your photos look like the one above, then you should not have to set the Photo to IMU rotation (unless the heading information in the photo metadata does not correspond to the direction of travel).
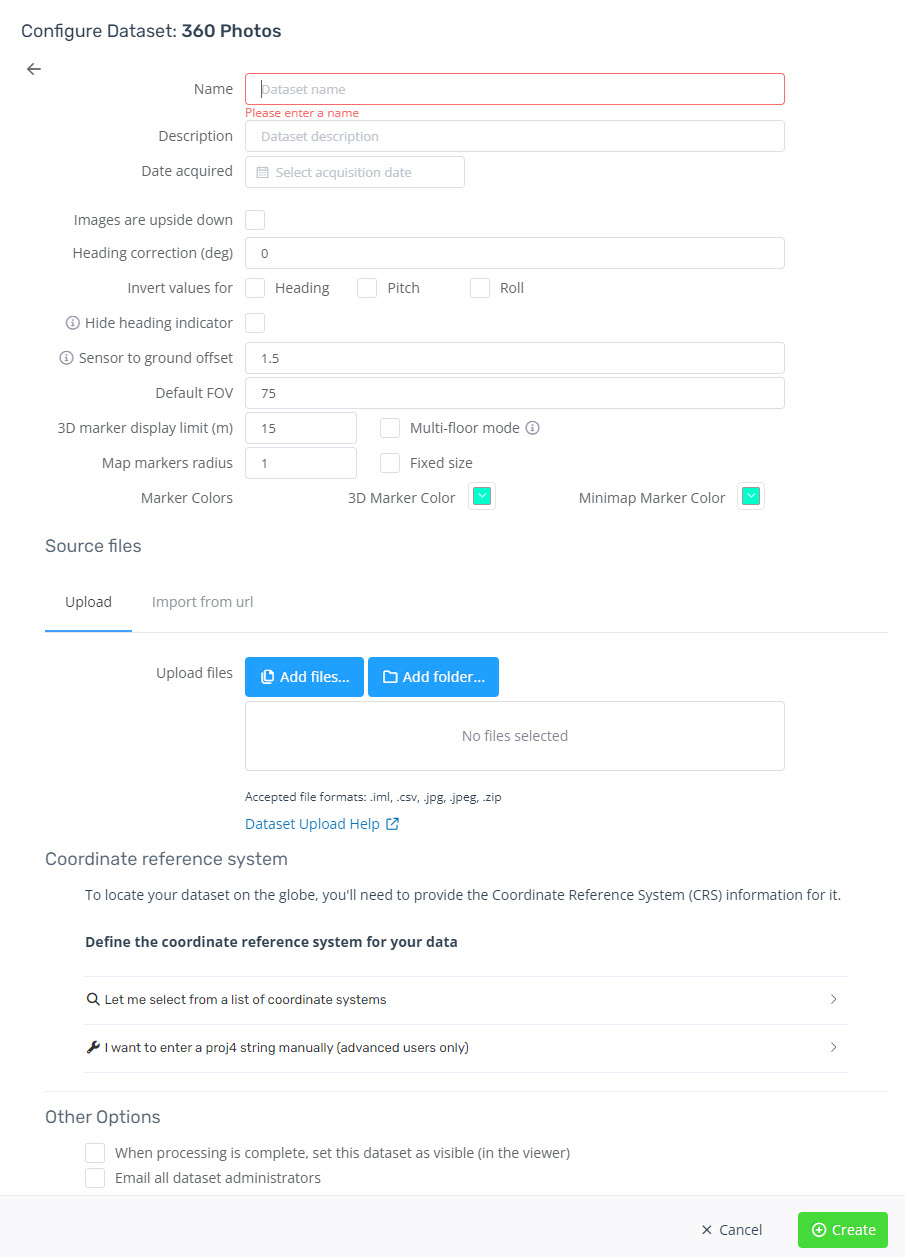
Using the photo rotation correction
The most common case where a correction will be required is where the forward direction corresponds to the middle of the processed photo (opposite case to the image above). In this case, you should set the Photo to IMU rotation to be 180.
You may also have a situation where the heading data is the opposite to the camera setup. In this case, you'll will also need to use 180 as the rotation value.
If you find that your heading indicator is out by 180 degrees when viewing the images, then you will just need to edit the dataset properties and enter 180 for the rotation.
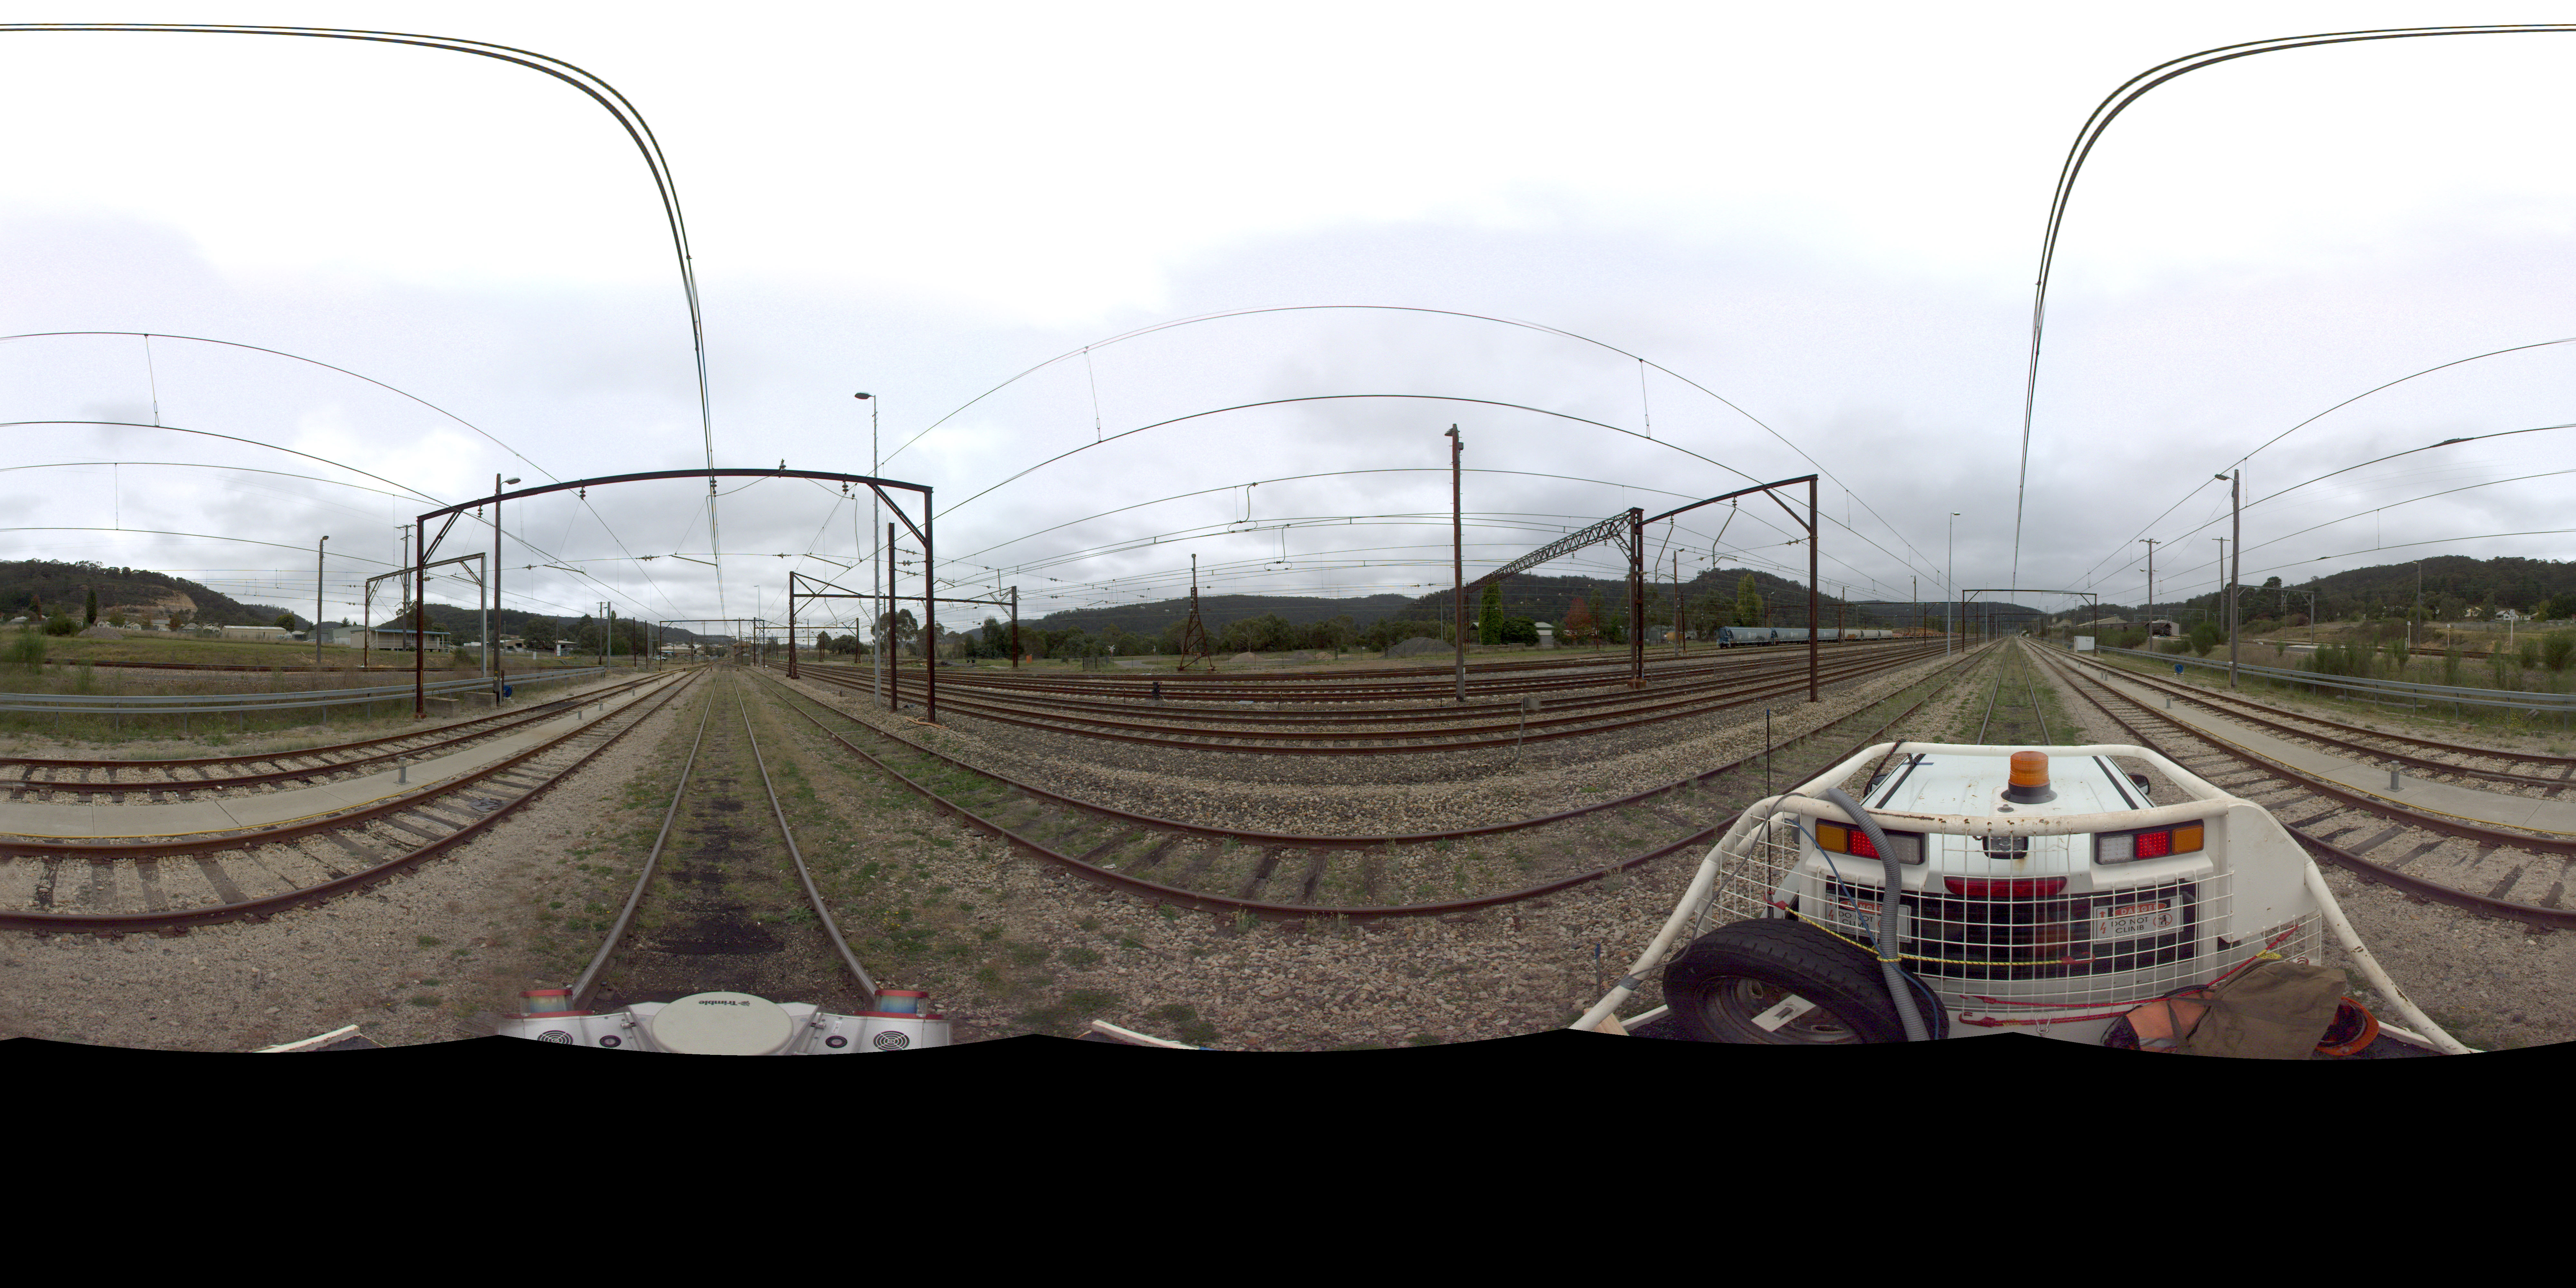
If there is a different rotation (as show below), you will need to determine the rotation. It will normally be a multiple of 72 for a 5 camera system (LadyBug). For example, the forward direction below is showing as 4 x 72 = 288 degrees from the left edge. You should enter this value into the Photo Rotation (deg) field when creating (or editing) the 360 Photo dataset.


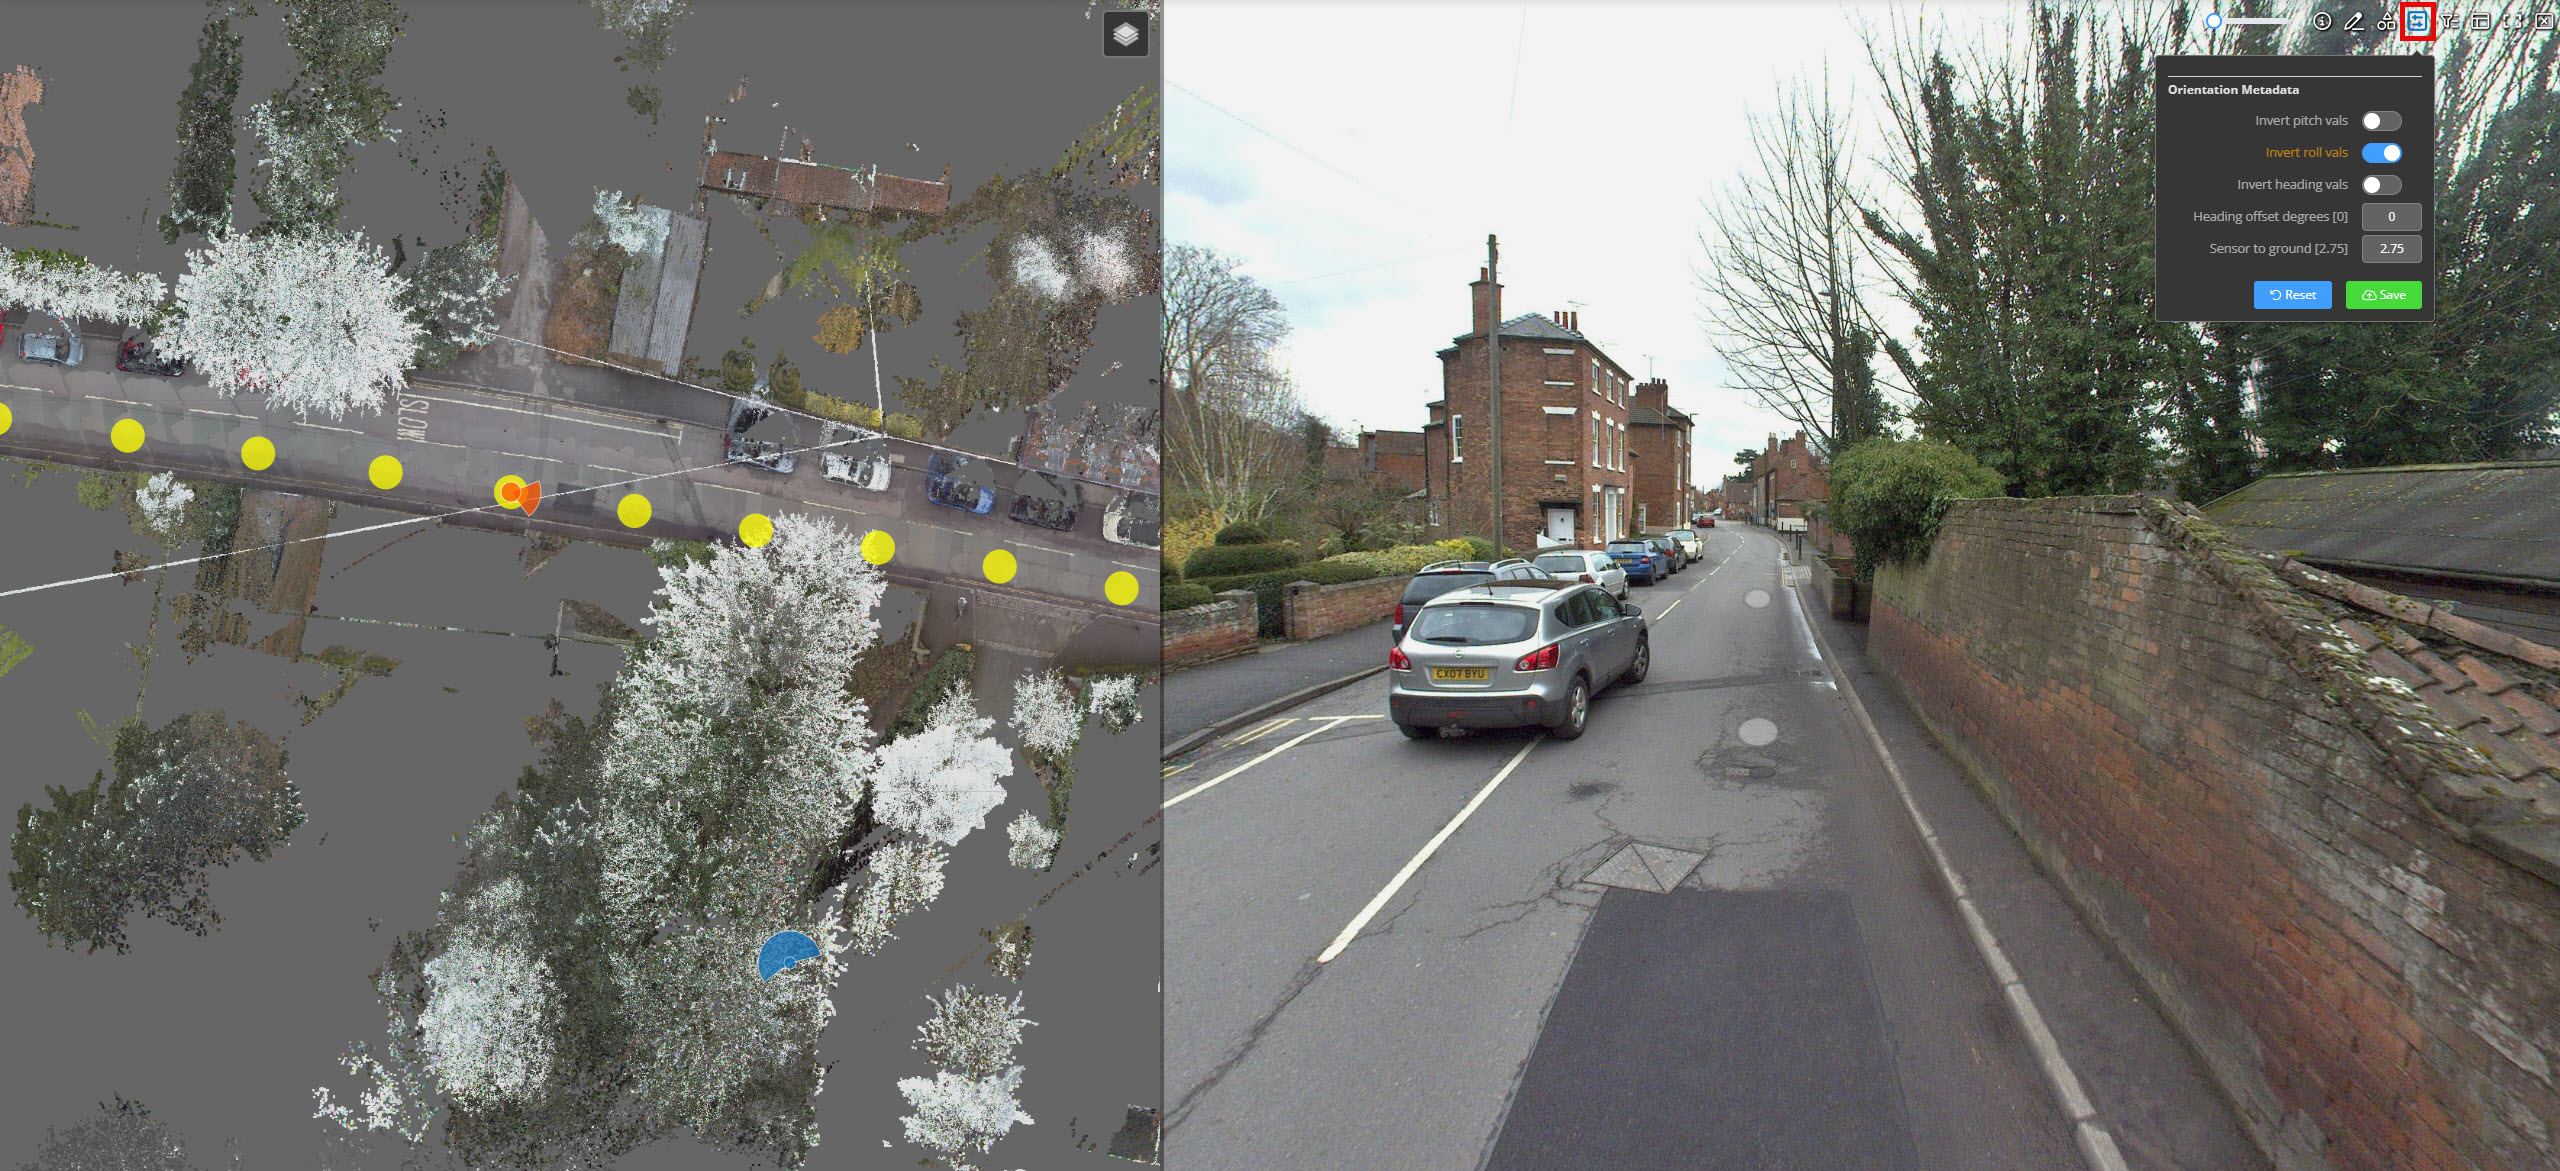
Editing the orientation metadata
If the figures in the orientation metadata are incorrect, these can be adjusted in the 360 image by clicking the button in the below screenshot.

