Creating Points of Interest (POIs)
A Point of Interest (POI) is an annotation connected to a 3D coordinate. POIs can have additional properties, such as a description, hyperlink, and and image associated with them.
Creating a Point of Interest
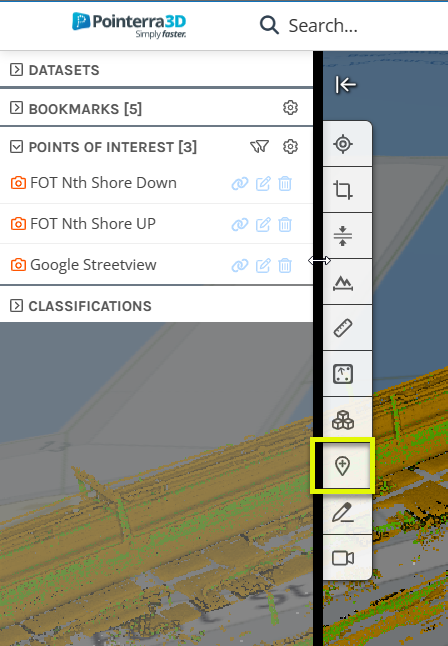
You can create a POI in the 3D view by activating the Add Point of Interest tool from the tool palette.

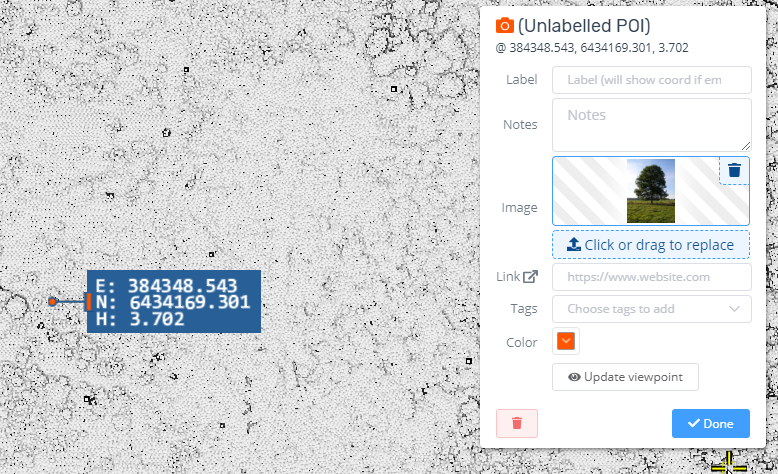
Once activated, click on a point in the 3D viewer to label as a POI. This will open a properties dialog that allows you to edit the POI. Here you can name the POI, add a website link and add custom tags that can be used to filter the display of POIs in the 3D viewer. The current viewpoint in the 3D viewer will be saved to the POI when it is created, this can be updated using the Update Viewpoint button.
Adding tags
Tags can be used to categorise POIs. A drop-down menu will appear when adding tags where you can select a tag that has already been used or create a new tag.

Managing POIs
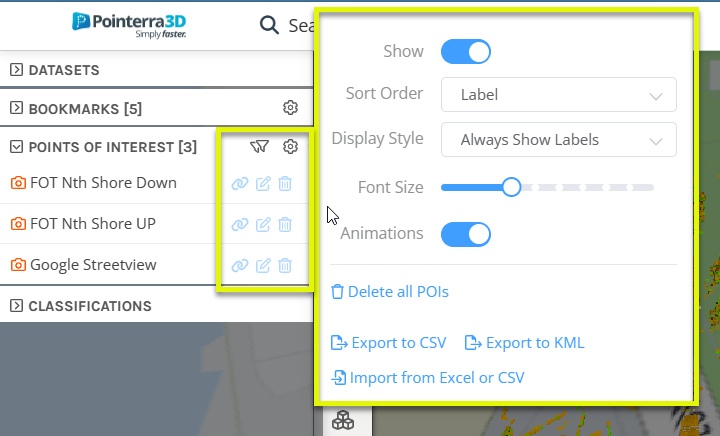
All POIs appear in the Points of Interest tab in the left panel. From here, the properties of the POI can be edited and POIs can be deleted. Left clicking on a POI will set the 3D view to the saved viewpoint of the POI.
Use the filter option next to the Points of Interest tab to filter POIs by tags and by name. Multiple tags can be selected and only POIs containing all selected tags will be shown. Filtered POIs will be hidden in the 3D viewer (and on the overview map) as well as in the list of all POIs. To adjust the properties of POIs, select the gear icon next to the Points of Interest tab. This allows you to hide POIs, change the font size and import and export POIs to a csv file.

