Saving views in the 2D viewer
Saving views are helpful for when you are dealing with a large amount of data assets and need to view specific assets quickly.
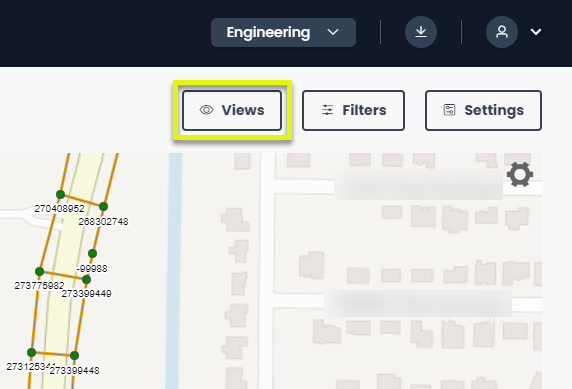
To save views first navigate to the views interface by selecting the option in the top right of the viewer

When in the views interface you have the option save the current view in the 2D viewer (1), and the interface also lists the previously saved views underneath (2). Next to each saved view, you have two options, the first option (the eye icon) moves the 2D viewer back to the saved view. The second option (the camera icon) updates the saved view to what is currently on the 2D viewer.

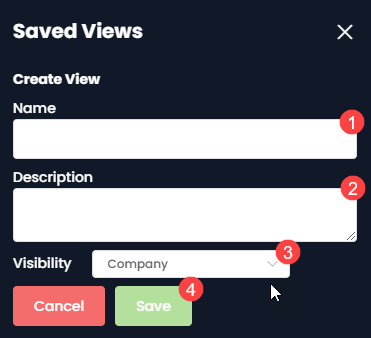
If you click to save the current view (1 above), you are then taken to an interface where you are prompted to give the view a name (1), description (2), select who can see/access the view (either personal or company) (3), and finally save the view (4).
