Creating a Manual Classification dataset
Note: Classification editing tools are not enabled by default for all customers. Please lodge a support request if the below options are not available and you would like trial access.
In circumstances where you need to change the classifications (edit) a point cloud without first running an automatic classification follow this workflow.
-
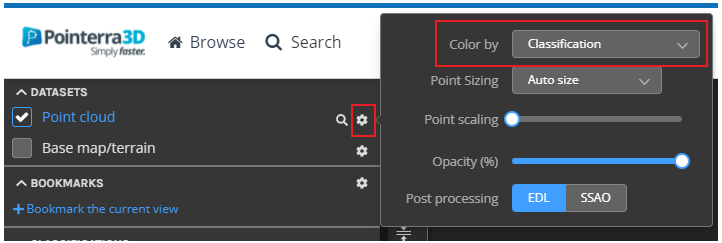
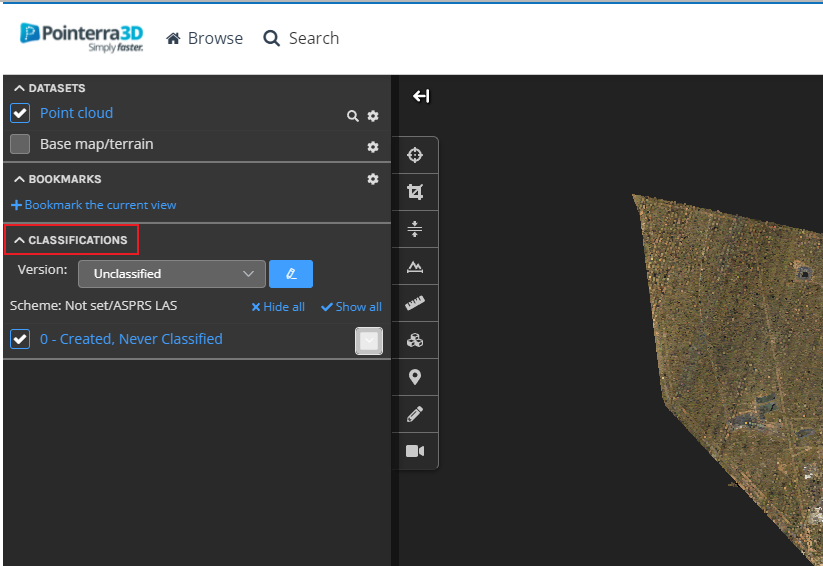
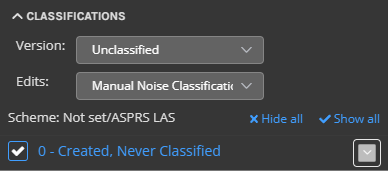
After loading the point cloud navigate to the Classifications toolbox on the left hand side of the point cloud viewer. If the Classifications toolbox is not visible first select the "Color by Classification" option under Point cloud settings.
By default one classification version will exist: Unclassified.
The edit session will be creating a new classification version starting from the Unclassified version.
-
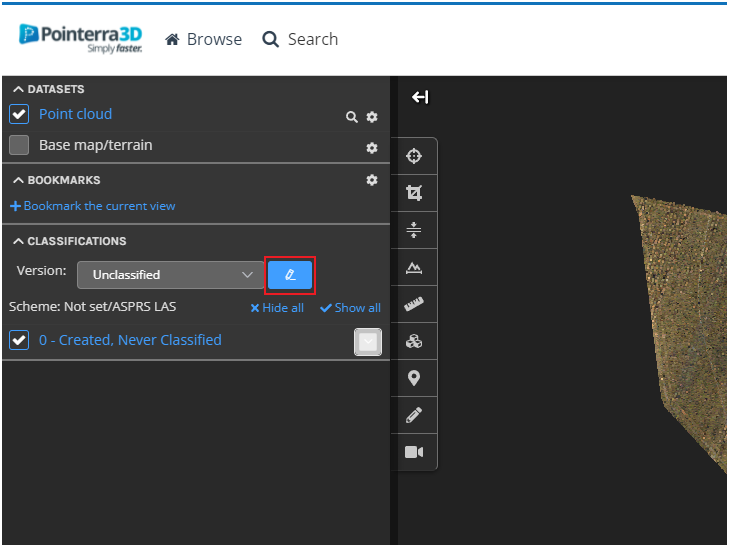
Select the 'create new classification edit' button.
-
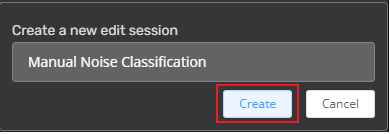
Add an appropriate session name and select Create.
-
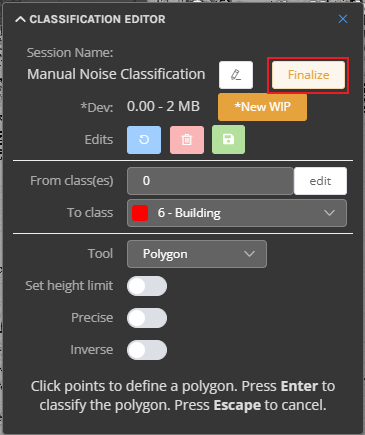
This will create an Edit session against the Unclassified version and load the Classification Editor tools.
Utilize the edit tools to complete manual editing requirements.
-
The edit session can be saved and returned to at a later time by:
Selecting the 'save and exit' cross in the top right hand corner of the Classification Editor.
To continue the editing select the same edit session name from the Edits dropdown under the Classifications toolbox.
This will reload the Classification Editor tools.
-
Once all edits are complete select the Finalize button in the Classification Editor.
-
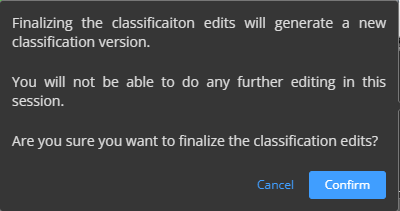
A confirmation window will displaying asking you to confirm that all edits are complete and you would like to create a new Classification Version.
After selecting Confirm to proceed an analytic will run to create a new Classification Version.
You will receive an email once the new Classification Version is ready for viewing.
-
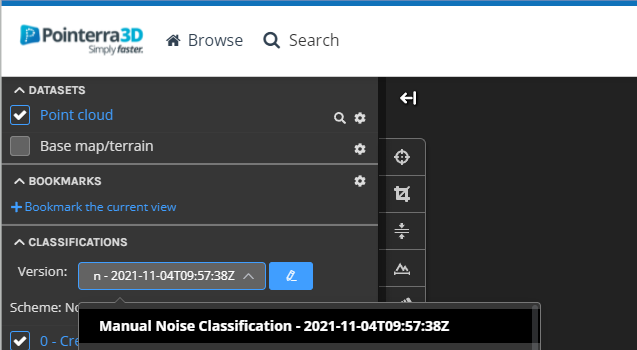
Once the email is received refresh the browser page and select the new Classification Version which will be the 'Edit Session Name' created in Step 5.