How can I inspect the source photos for a Point Cloud I generated using RealityCapture
If your Point Cloud was generated using Photogrammetry the Pointerra platform can support photo inspection. This will allow you to click any point and then view the original photo(s) of that location. The following guide explains how to do this for data processed with RealityCapture.
- RealityCapture needs to be manually configured to export the camera alignment in the correct format. This will most likely require administrator permissions on your computer, but will only need to be done once.
- Go to the C:\Program Files\Capturing Reality\RealityCapture directory (or wherever RealityCapture is installed)
- Create a copy of the calibration.xml file and rename it to calibration_backup.xml. If this does not prompt you about administrator permissions, you can skip steps 3 and 6
- Move the calibration.xml file to a folder you have permission to write to (e.g., Desktop)
- Open the file with a text editor (e.g., Notepad) and add the following snippet to it:
    <format id="{0CA18733-1EBC-4254-9974-17197EB409AC}" mask="*.csv" descID="9002" desc="Camera parameters for Pointerra import" writer="cvs" requires="component">
        <body EulerFormat="zyx">
#name,cameraIndex,index,width,height,scale,imagePath,originalFile,x,y,z,tx,ty,tz,lat,lon,alt,yaw,pitch,roll,invYaw,invPitch,invRoll,omega,phi,kappa,f,px,py,k1,k2,k3,k4,t1,t2,aspect,R00,R01,R02,R10,R11,R12,R20,R21,R22,euclidx,euclidy,euclidz
$ExportCameras($(imageName)$(imageExt),$(cameraIndex),$(index),$(width),$(height),$(scale),$(imagePath),$(originalFile),$(x),$(y),$(z),$(tx),$(ty),$(tz),$(lat),$(lon),$(alt),$(yaw),$(pitch),$(roll),$(invYaw),$(invPitch),$(invRoll),$(omega),$(phi),$(kappa),$(f),$(px),$(py),$(k1),$(k2),$(k3),$(k4),$(t1),$(t2),$(aspect),$(R00),$(R01),$(R02),$(R10),$(R11),$(R12),$(R20),$(R21),$(R22),$(euclidx),$(euclidy),$(euclidz)
)</body>
    </format>
Alternatively, you can download and use this calibration.xml file, which has already been edited - Save and close the file.
- Move the new calibration file back into the installation directory (C:\Program Files\Capturing Reality\RealityCapture)
- Export the camera alignment CSV from RealityCapture:
Under the ALIGNMENT tab in RealityCapture, select Registration in the Export section
Choose where to save your file and set Save as type to Camera parameters for Pointerra import. You can name this file anything, as long as it has the .csv extension.
Click OK
- In the point cloud navigate to its Project page (1), as shown below.
Click Add dataset (2)
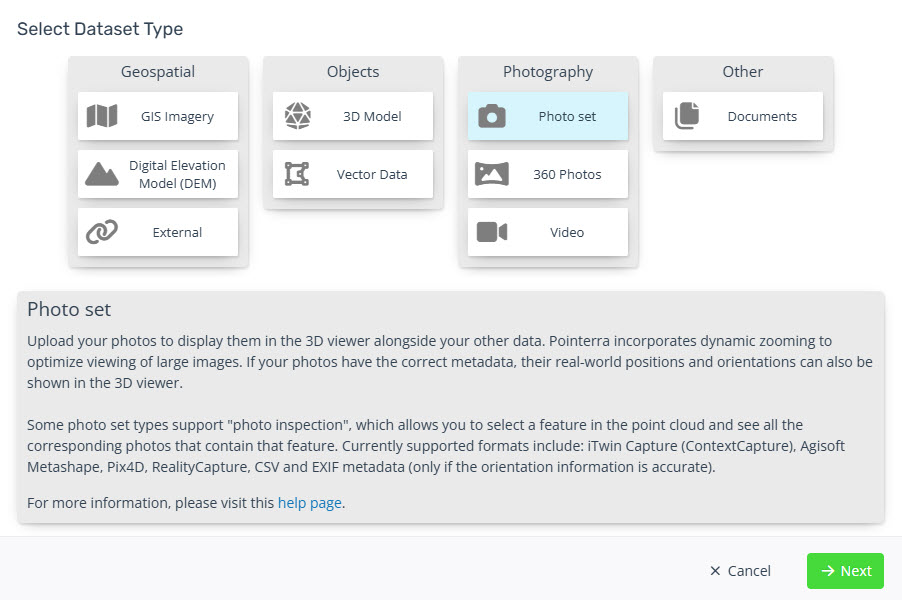
- Select the Photo set dataset
(1) Set the Name
(2) Set the Photo Inspection mode to RealityCapture
(3) Add the photos and calibration CSV file
(4) Set the CRS
(5) Click Create
- Once the upload and import completes you will receive an email. Refresh the Point Cloud web page to use the Photo Inspection dataset.