Photogrammetry Processing Workflow
Starting Photogrammetry Processing
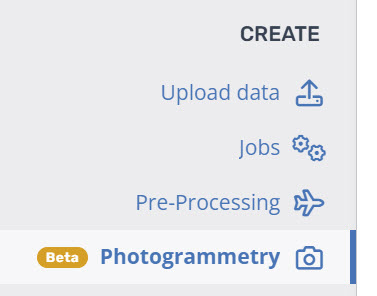
To begin photogrammetry processing, navigate to the Photogrammetry tab in the Create section.
Uploading Your Photos
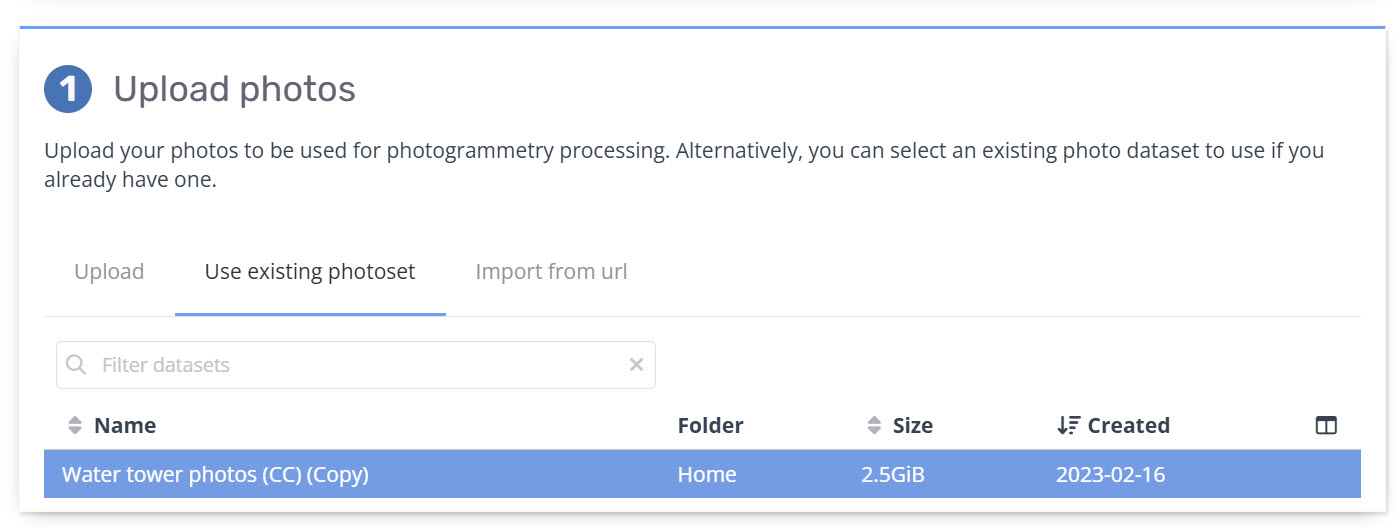
You can upload photos using one of the following methods:
Upload from your computer – Select and upload image files directly from your local device.
Use an existing dataset – Choose a previously uploaded photo dataset without needing to upload additional files.
Copy from cloud storage – Enter an S3 or Azure Blob Storage location to import files.
If your photos do not have position information in their EXIF/XMP metadata, you can also upload a reference CSV file or EO text file containing the positions and optional rotation information. You must select it from the "Reference file" drop down as seen below.
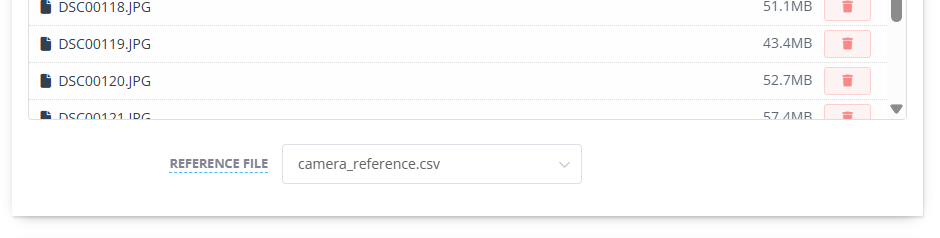
Currently, CSV reference files must specify positions in WGS84 (Lat/Lon) coordinates.
The CSV file must contain a header row with the following columns (column order and letter case do not matter):
Name
Longitude or Easting
Latitude or Northing
Altitude (or Height, or Elevation)
Roll (or Omega) - optional
Pitch (or Phi) - optional
Yaw (or Kappa) - optional
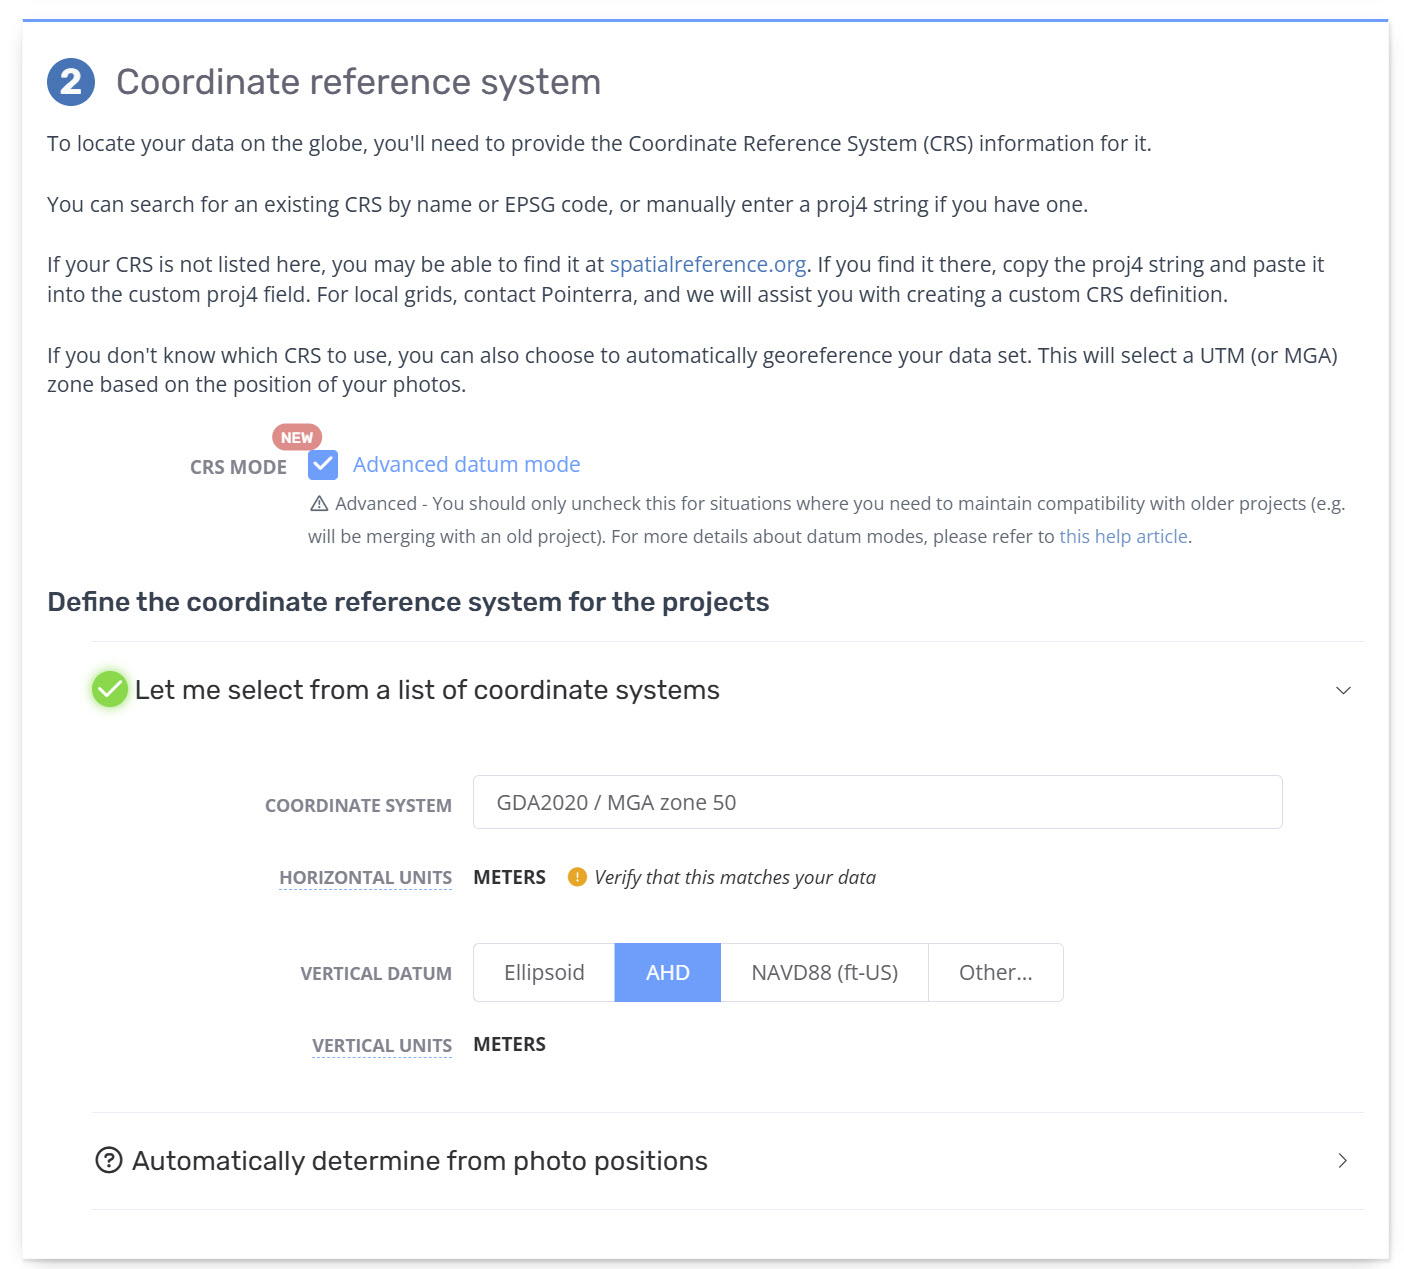
Select your coordinate system
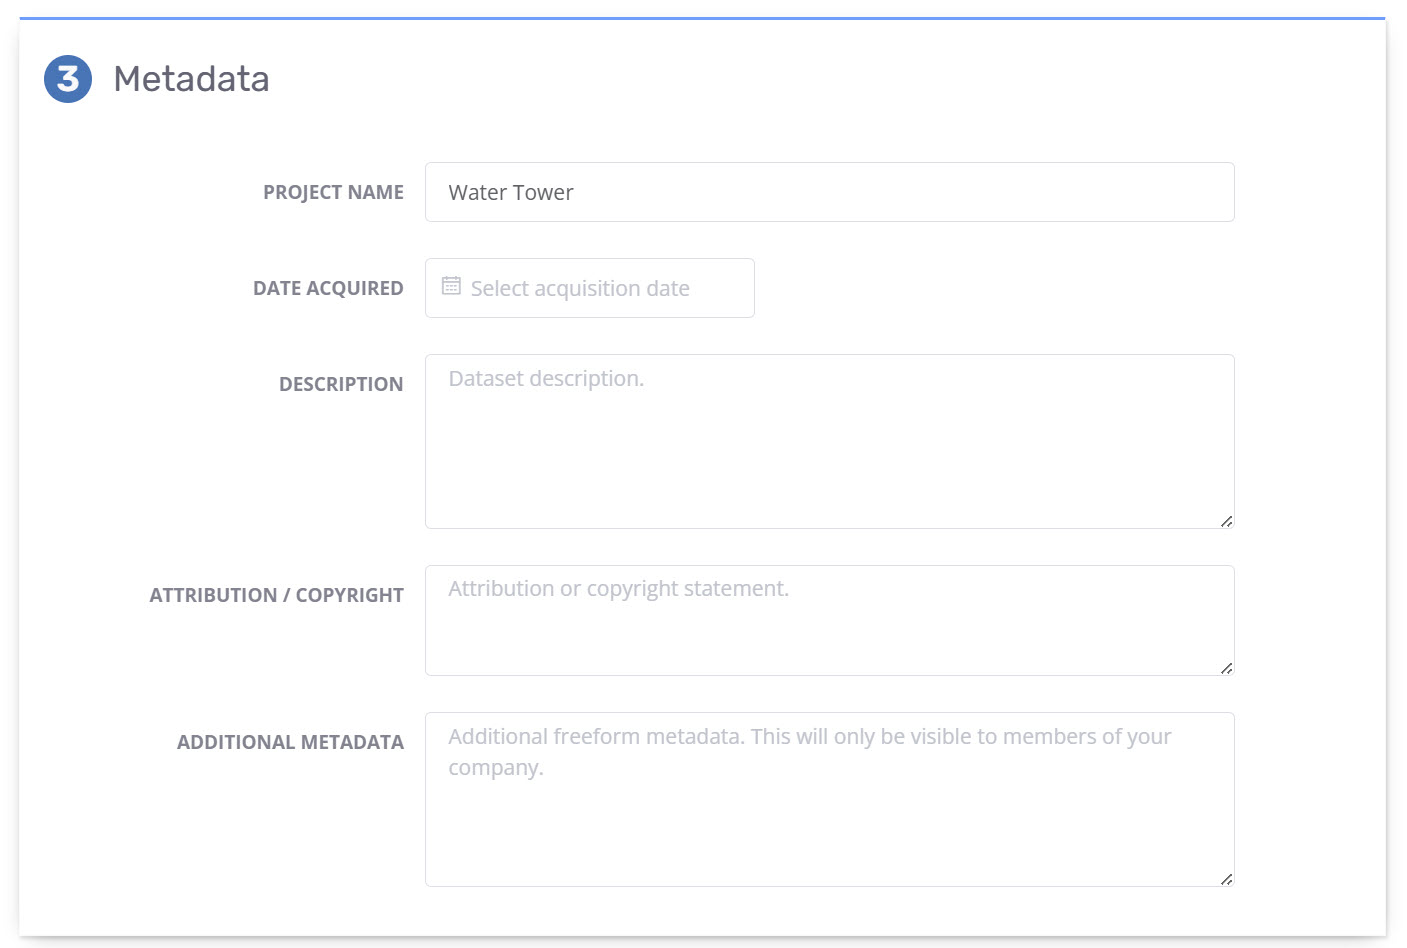
Add project metadata
Configuring Output Type and Quality
Choose Output Quality
The config/preset determines the quality of the outputs, such as the resolution of the orthomosaic. Select the option that best fits your needs:
Preview – Processes images at a lower resolution, ideal for testing or verifying data before committing to higher-quality processing. While these outputs are not visually refined, they provide a general preview of the final results.
High Quality – Provides sufficient detail for most applications with moderate processing times.
Ultra Quality – Offers the highest level of detail but requires significantly longer processing times.
If you already have an optimized Metashape workflow and would like to replicate it on Pointerra, contact us to arrange a custom configuration for your company.
Enable Manual Correction (Optional)
The "Apply Manual Correction" toggle enables additional refinement options before final processing, allowing you to:
Crop the outputs
Adjust vertical offsets
Select ground control points (GCPs)
For more details, see the Photogrammetry Manual Correction guide.
Select Dataset Outputs
Choose which of the five dataset types you’d like to generate. These datasets will be automatically viewable in Pointerra, just like other datasets and point clouds. (Note: Selecting additional outputs will increase processing time.)

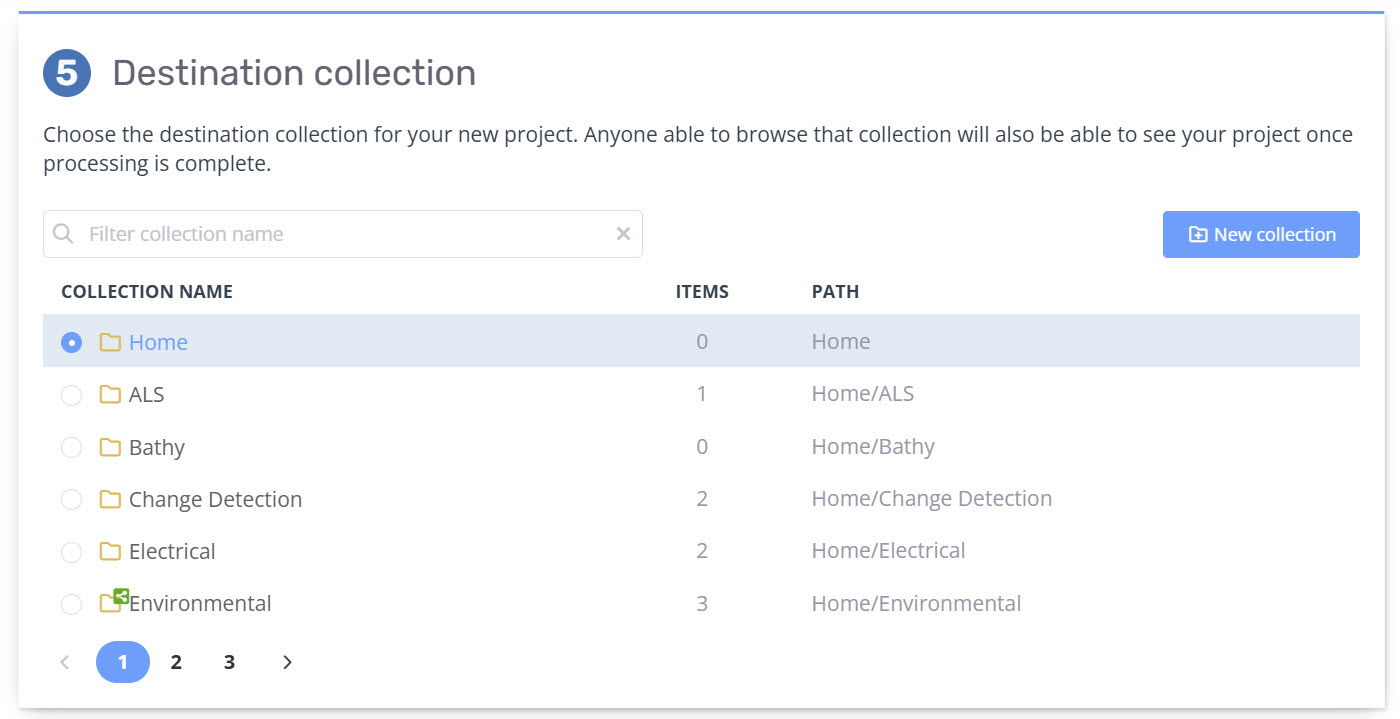
Choose your destination collection
This is where your final project will be placed.
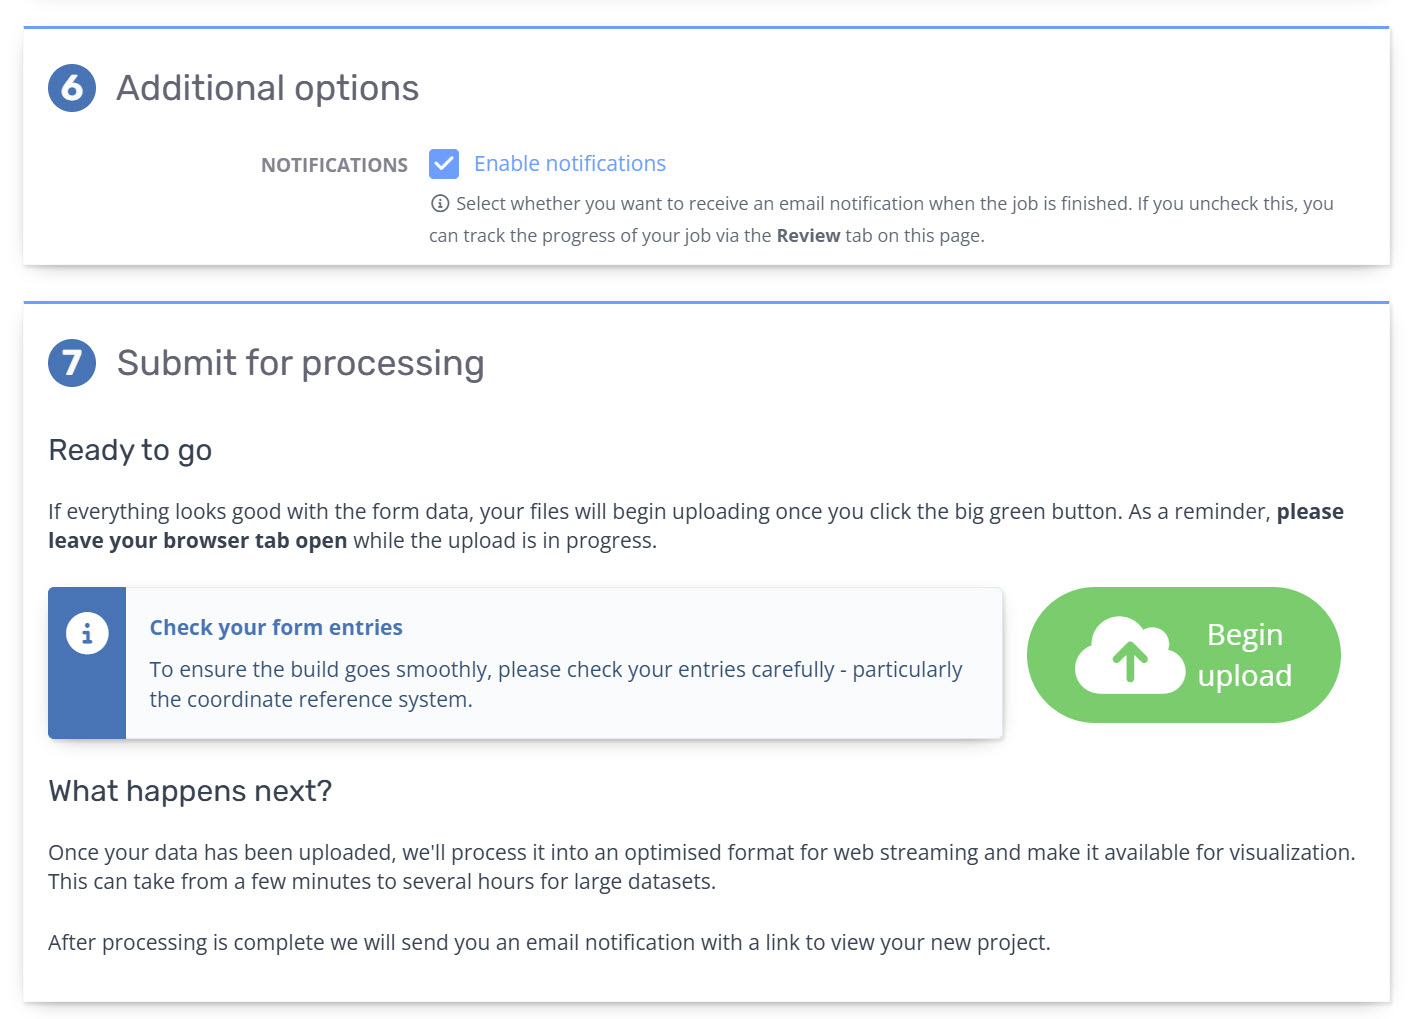
Choose any additional options and the click Submit.
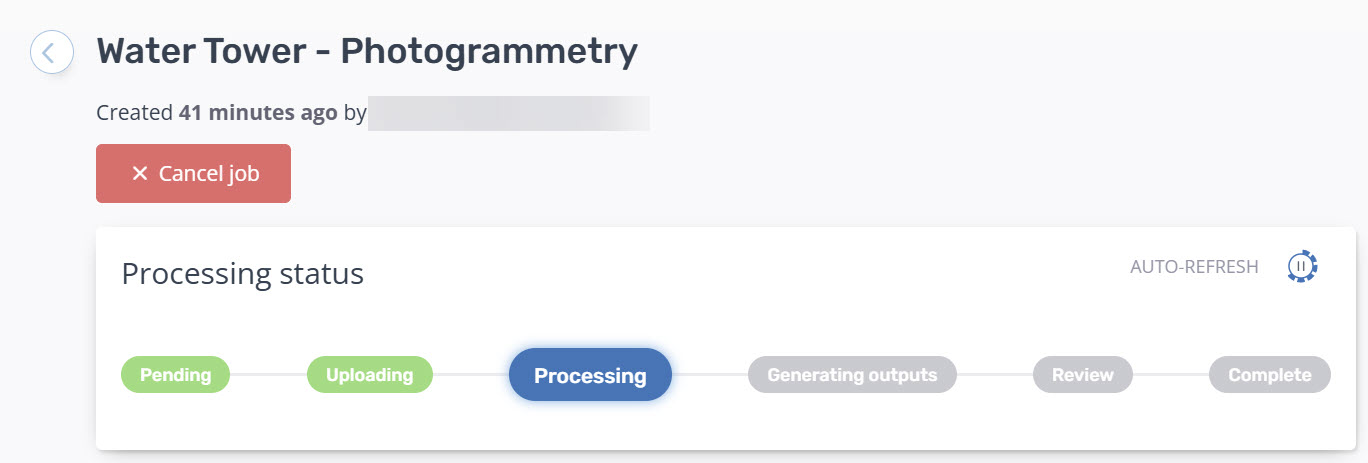
Monitoring progress
Once your photos have been uploaded, the project review page will appear. You will receive a notification when processing reaches the review or manual correction stage. See Reviewing the Photogrammetry Outputs for more information.