Uploading point cloud data
Note: To be able to upload point clouds, your account must be at least a Primary and permissions to upload to a collection.
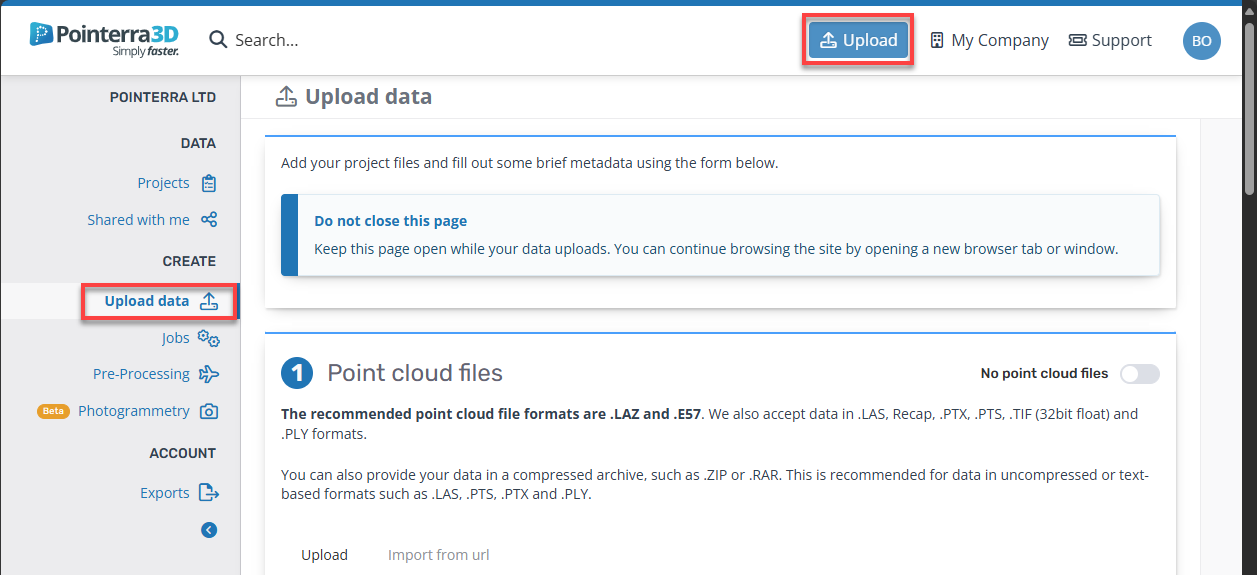
To upload new point cloud data click the Blue Upload button in the upper right of the window or navigate to the Upload data tab in your Company page.
Adding point cloud source files
Point cloud data can be uploaded in a range of different formats (list below), it is recommended to use LAZ, Recap or E57 formats, as these generally have good compression and will therefore be quicker to upload. You can add source files individually by using the Add files button or add all files from a folder using the Add folder button. Files to be uploaded will appear in the file list. Note that any file with an extension or format that isn't recognised will be highlighted orange and skipped during the building process.
Note: to upload a Recap project, you must use the Folder upload option (see this article for details on uploading Recap projects)
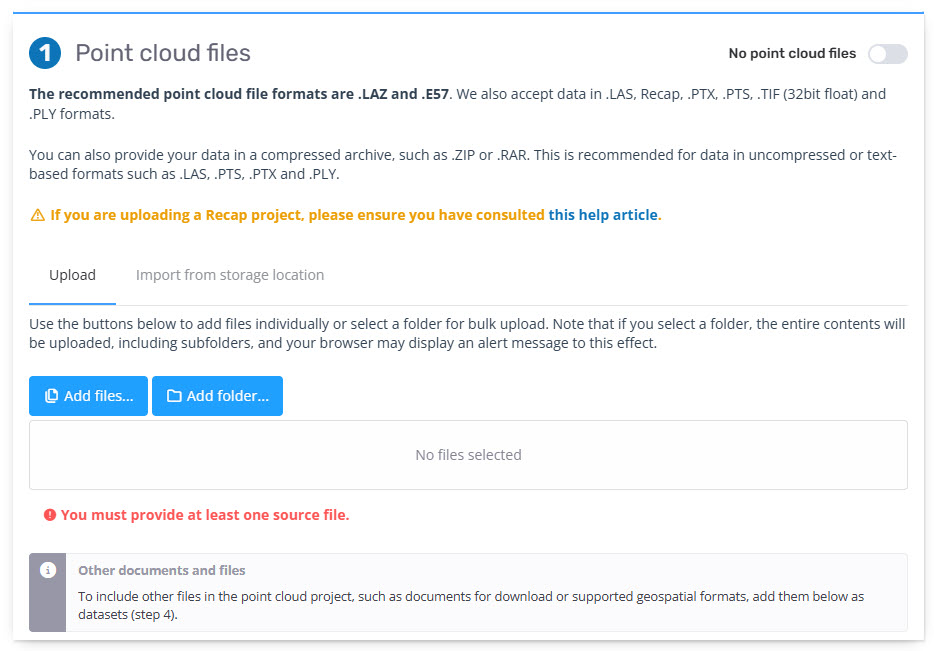
Source files can also be added through external storage locations. See this help article on how to set this up.
Supported Point Cloud Formats
LAZ (recommended)
Recap (recommended)
E57 (recommended)
LAS + LAS1.4
-
ASCII XYZ (space, comma or tab)
.xyz
.yxz
.xy_depth (for bathy heights)
.yx_depth (for bathy heights)
Leica PTS
Geotiff 32 bit elevation floating point
Structured Scanning Formats
You can upload structured scan data (which will also generate ScanViews) from the following formats
E57 (structured)
Recap (structured)
Leica PTX
Specifying metadata
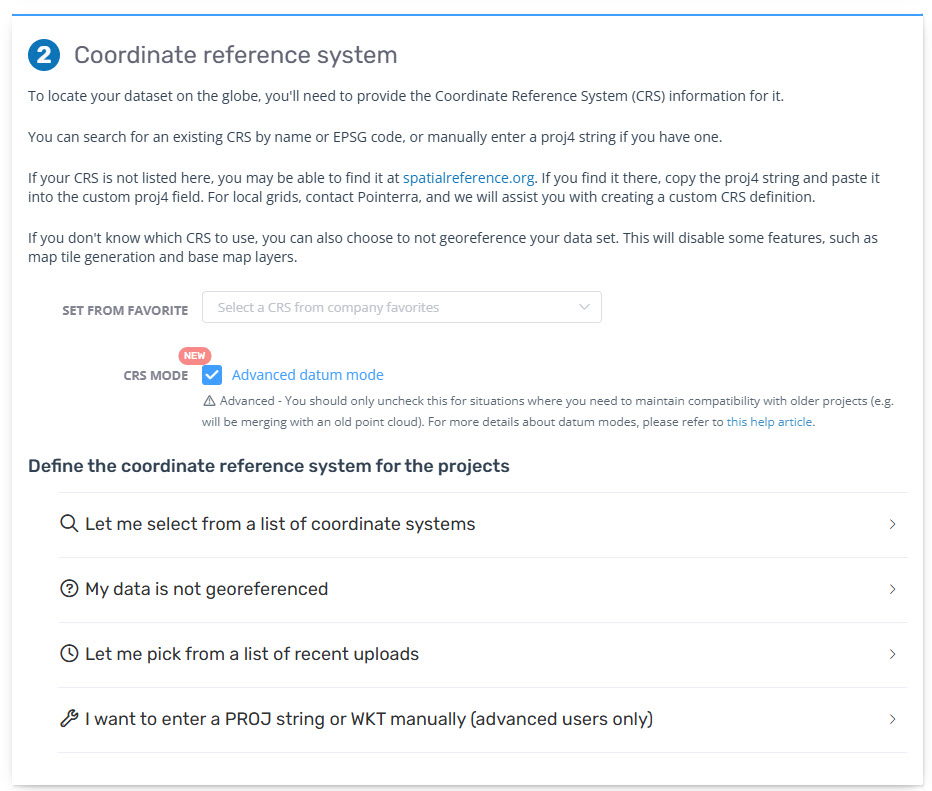
Coordinate System
Set from Favourite if you have created a list of saved CRS' from the configuration section
See this help article on the Advanced Datum Mode. We recommend using this by default.
If you know the coordinate system, select the first option, Let me select from a list of coordinate systems, where you can search for the coordinate system (by name or EPSG code). Then select the vertical datum and vertical units. Note that it is important to get the coordinate system information correct (including vertical datum and units) if you want your point cloud to line up with the base map and terrain layers.
If you don't know the coordinate system used or a coordinate system is not relevant to your point cloud (ie. if its position in the world is not important), select the My data is not georeferenced option. This will allow you to set the horizontal and vertical units as well as provide an approximate location so that the point cloud can be searched for on the map (can be left blank). This will disable some features such as using base map layers with your point cloud.
If you are using your own coordinate system or have access to the proj4 string, select the fourth option where you can enter the proj4 string and select the vertical datum and units (recommended for advanced users only).
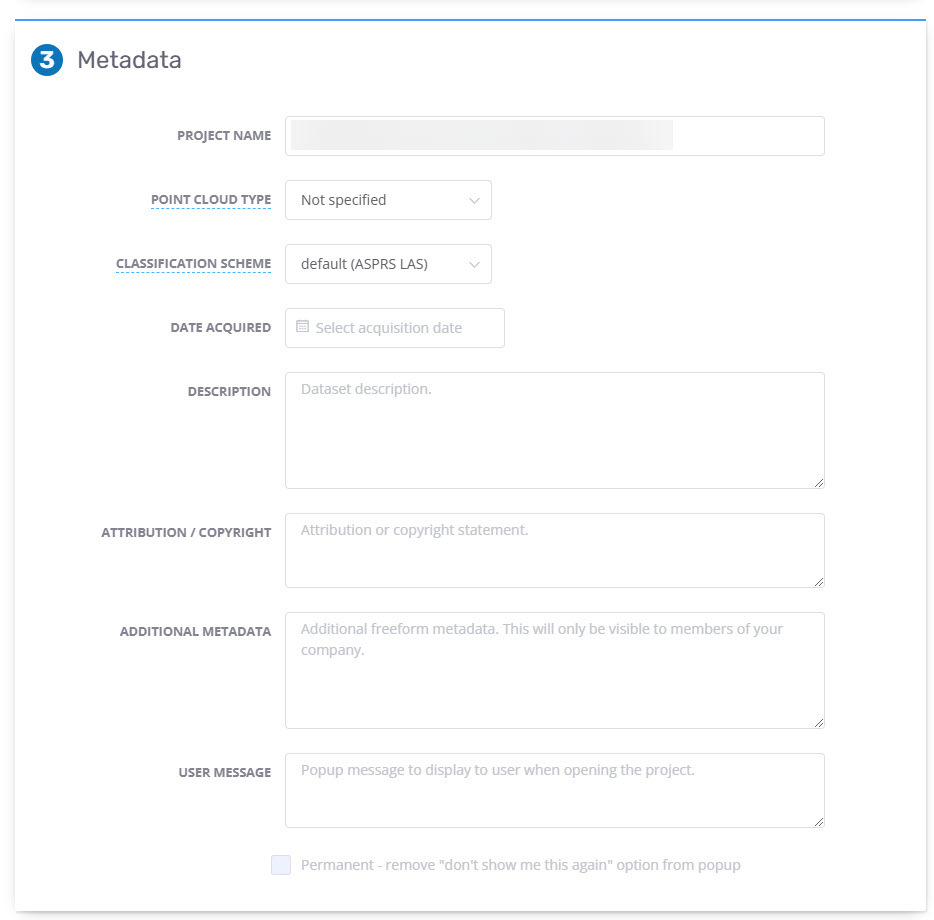
Metadata
Next, you have the ability to provide metadata about the point cloud/data being uploaded such as the project name, point cloud type (capture method), classification scheme, date acquired, description and attribution/copyright information. You can also add any additional textual metadata (this will only be visible to members of your company and not external viewers when using share links, or if you make the dataset public) using the Additional Metadata field. This metadata can also be modified after the build process has finished, see Editing point cloud metadata for more information.
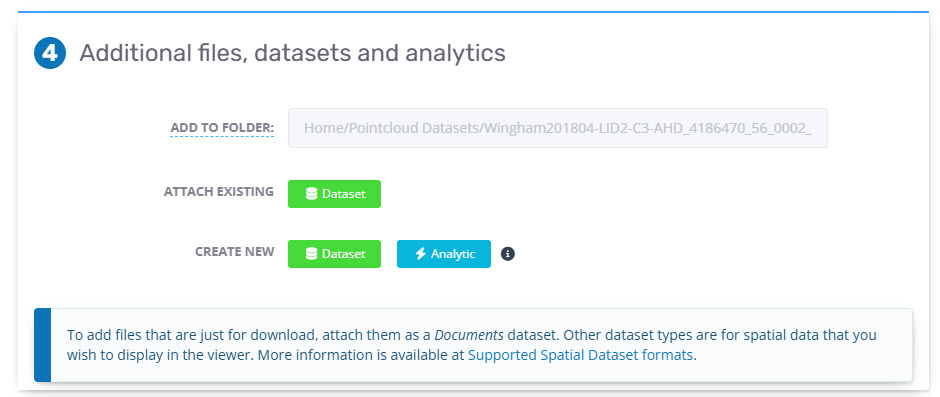
Associating Datasets and Running Analytics
Next, you can upload any datasets that you want to be associated with this point cloud. This is additional non-point cloud data that provides information about or enhances your point cloud. Examples include providing downloadable documents or 3D models that can be viewed alongside your point cloud. You can add these datasets into a folder to help keep them organised.
You can also add, change or remove associated datasets after the point cloud has finished building.
Note: Running analytics is only available if you have it as part of your subscription
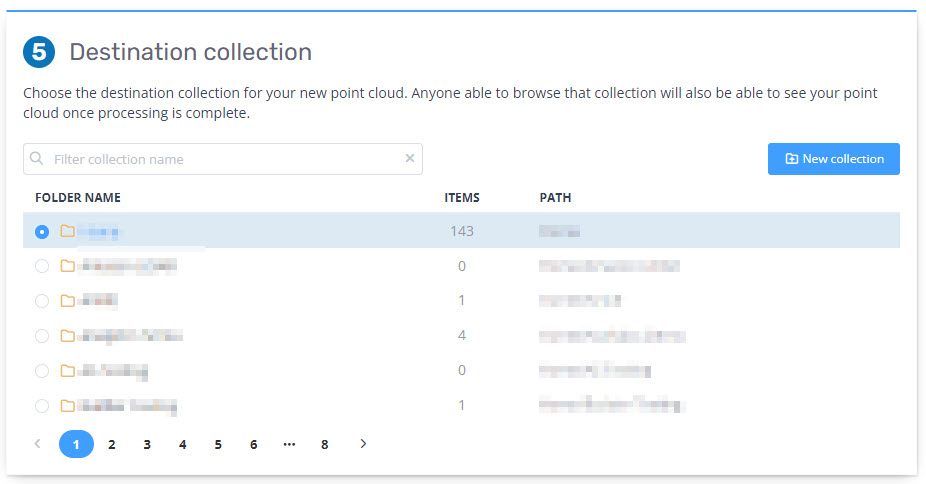
Assigning Destination Collection
Now, you can assign your point cloud to an established or new destination collection (1), where it will be stored. You can search/filter for a specific collection using the search bar (2). Collections provide a way to organise your point cloud data, and manage permissions for your users and teams (note: the collections used for organising point clouds are separate from the folders used to organise datasets). See Using Collections for more information.
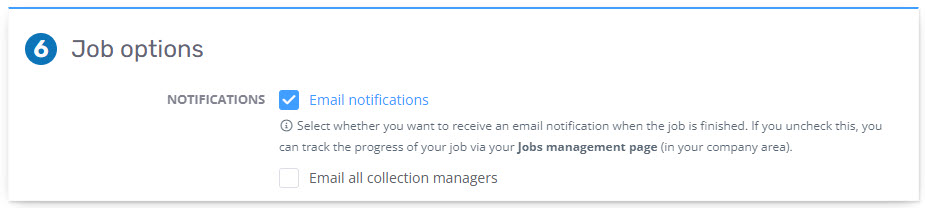
Job Status and Progress
Here you can select preferences with how the Job is handled. You can enable receive a notification when the job is finished. If you don't want to receive notifications, the job's status and information can be found on your company page under the Jobs tab. Optionally, all collection managers can be emailed as well.
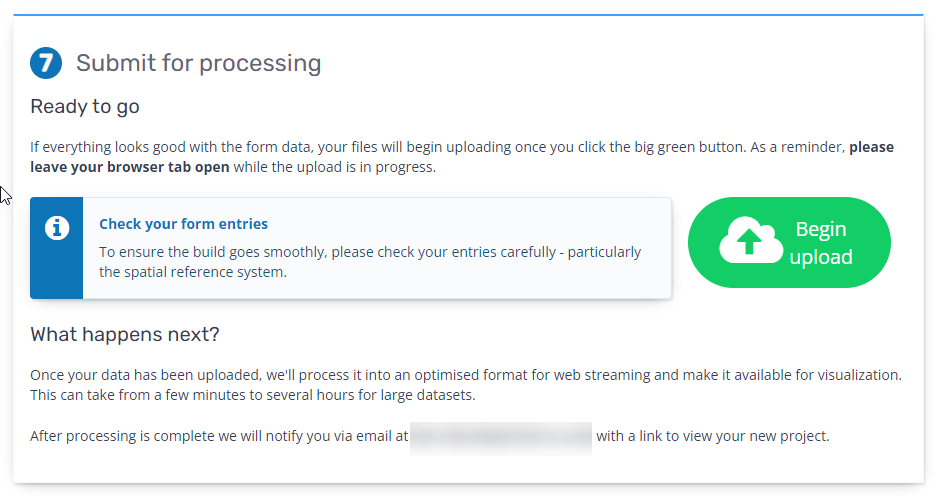
Finishing up
When you have finished selecting source files and specifying metadata, you can begin uploading your point cloud. To ensure that the build goes well, check that your entries are correct, especially the Spatial reference system. While your point cloud is being uploaded, leave the browser tab open. Press the green Begin Upload button to start the build process, you will receive an email notifying you when your point cloud is ready with a link to view the point cloud.
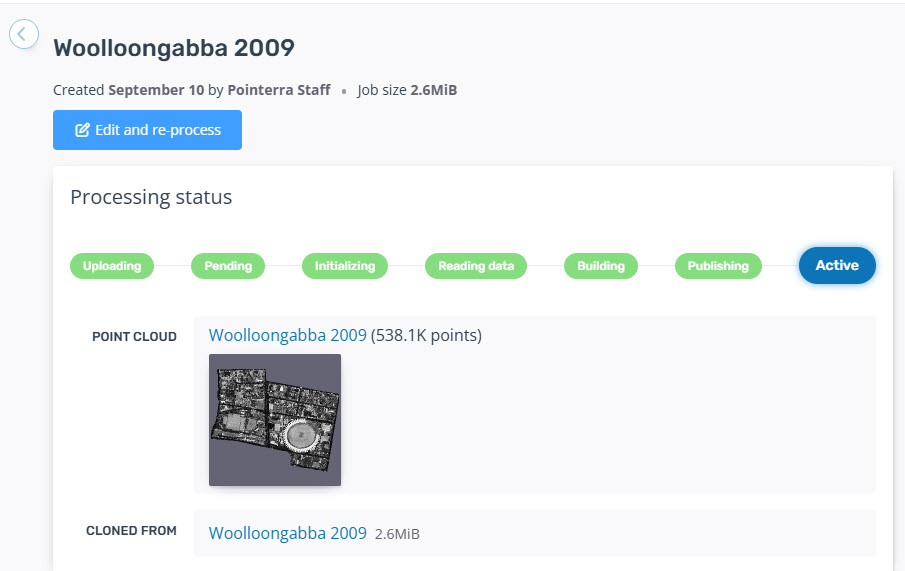
Once uploaded
When all files have been successfully uploaded the web page will navigate to the job processing page, where you can see the progress.